If you’ve just received your hardware kit, welcome aboard. Setting everything up is straightforward, and this guide will walk you through the process step by step, from unboxing your gateway to installing each sensor.
You can also watch this quick video that goes over the sensor kit, just to get an overview:
Let’s get started.
Step 1: Setting Up the Gateway
The gateway is the heart of your system—it connects your sensors to the internet so they can start doing their job.
If your Wi-Fi credentials are already configured:
Things couldn’t be easier. Just:
- Take the gateway out of the box.
- Plug it into a power outlet using the included power adapter.
- That’s it—the gateway will automatically connect to your Wi-Fi.
If your Wi-Fi wasn’t pre-configured:
No problem. In that case:
- Use the Ethernet cable that came with the kit.
- Connect one end to the gateway and the other to your router.
- The gateway should be online in just a few moments.
Tip: It helps to place the gateway somewhere central, away from dense walls or heavy electronic interference.
Placement Tips for the Gateway
While the gateway can technically reach up to 50 feet in open spaces, indoor environments are different. Walls, doors, and other obstructions reduce that range, so we recommend keeping sensors within 30 feet of the gateway, ideally on the same floor.
If you're stretching that range, do a quick connectivity test before settling on final placements.
Step 2: Installing the Sensors
With the gateway up and running, it's time to move on to the sensors in your kit. Here’s how to get each one installed and working properly.
Sleep Sensor
This sensor is designed to monitor sleep activity. To get it set up, follow this quick video guide:
The video walks you through proper placement and activation. It’s the easiest way to get started.
Vibration Sensors
These small, rectangular sensors are multi-purpose—they help detect bed occupancy, monitor for bed sores, and track sleep patterns.
Here’s how to set them up:
- Each sensor comes with double-sided tape. (This goes on the logo's side, which will stick down.)
- Stick the sensor on the bed frame, ideally placing them at opposite ends for balanced detection.
- Make sure the QR code remains visible.
- Finally, pull out the yellow strip to activate the sensor.
Here's a quick video to guide you through it as well:
Note: If you need to move them later, be sure to check whether replacement adhesive is needed.
PIR (Motion) Sensors
These sensors track movement patterns in the room.
Where to place them:
- On the ceiling
- Above or near doorways
- Anywhere with a clear view of the entire room
To activate the sensor:
- Press the center of the front face until you hear a click.
- A small blue light will blink, confirming the sensor is on.
Watch this video for more guidance:
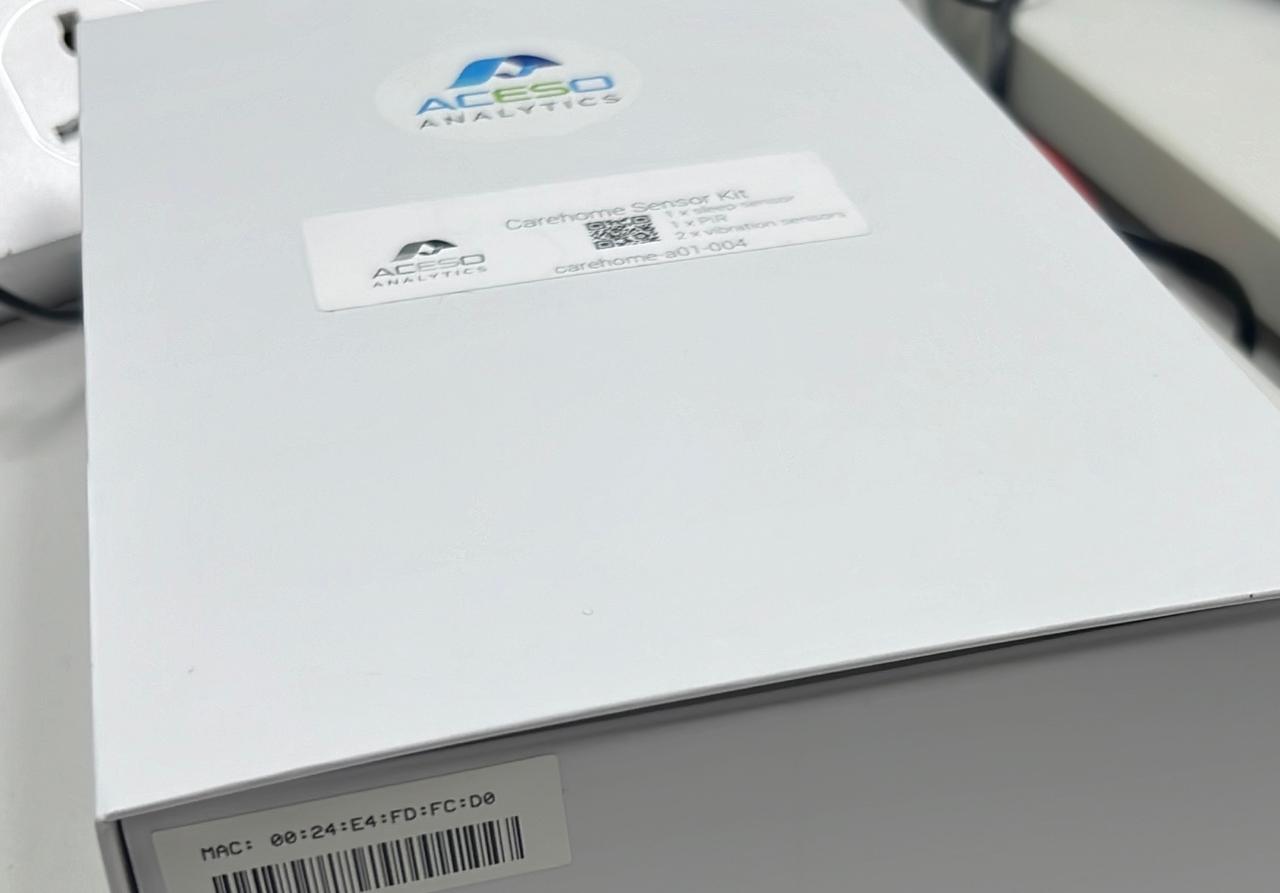
Before you install all the sensors, take note of the MAC addresses printed below each QR code. You may need these for registration or troubleshooting later on.
A Few Final Thoughts
Make sure your gateway is powered and connected at all times.
Double-check the placement and orientation of each sensor before finalizing.
Keep the MAC addresses somewhere safe—they’ll come in handy.
And that’s it. You’re all set.
If you run into any issues or have questions, our support team is here to help. You can also refer back to this guide any time you need a refresher.